It would seem that some catching up is in order. A lot has happened in the last 16 months since something happened on this blog, partially due to technical issues, and partly because in posting things on Facebook, I'd forgotten temporarily that they weren't showing up here. So... a quick review of some of the more interesting happenings on the Slate Creek Railway in the last ... well, year or so.
Getting Plastered
Progress in the Canyon area:


There *is* a real bridge on the property for this location, but until I have it detailed, and the scenery around it finished, the temporary one is easier to remove, and it won't matter if it ends up covered in paint, plaster, and scenery materials while the area around it is finished.

Progress in the Mill area:
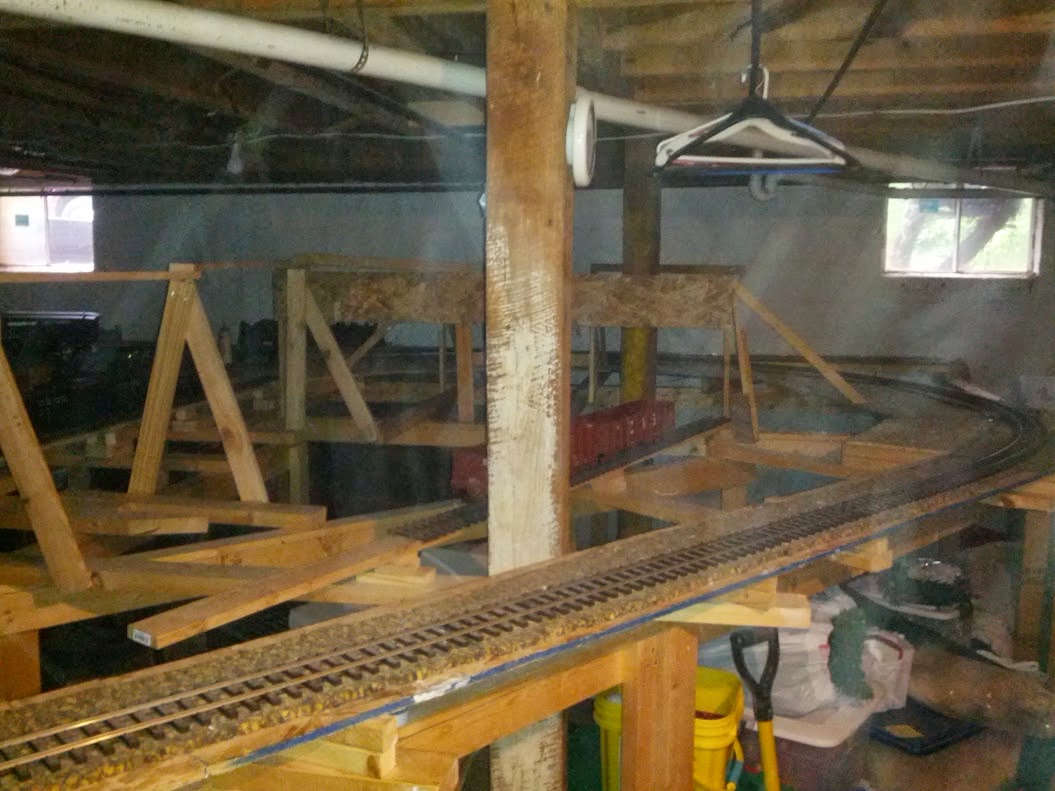

And, the area from the Tunnel to the Mill:


Progress in the Mine area:


Motive Power
While there are a lot of very interesting projects in the works on the Slate Creek, two bear mentioning at this point because they are either operational, or at least making good progress. First is the arrival of Slate Creek #6, the heavily modified Bachmann 2-6-6-2 featured just before the long gap in articles here, and the Diesel project. Number 6 has arrived on the property, and awaits final detailing and decals, but after some initial tweaking is serviceable, and can pull trains of impressive lengths, even around the many curves on the Slate Creek. Here's a demo video, which, while poorly lighted will give you the idea . . .
As to the Diesel, it's been a learning experience from A to Z. Well, ok, from A to about M right now .... still with M-Z to go! Mr. Alan Friedland of Great American Locomotion ( http://www.thegalline.com/ ) has been an enormously helpful and encouraging resource and supply of parts, spare parts, replacement parts for ones I broke, and patience as life interferes with the project which has now taken a year or two longer than expected! We *are* making progress, though, and I'll show you a couple of photos here:


For those of you just catching up to this project, Alan has helped me realize a concept of making a new superstructure for the Bachmann 45 tonner that makes it into a 1:20.3 sized diesel made from the plans for the Southern Pacific Narrow Gauge #1 (The "Little Giant") that is quite close, except that the shorter 45 tonner frame means the locomotive is a bit too short, over its length. Stay tuned ...
So Many Projects .... So Little Time ....
The last year has been very busy, and provided several interruptions to all things Slate Creek. From family emergencies to work projects (you know, at work...!) there has been a LOT to do, and very little time for the basement. Currently the sidings at Midway are being rebuilt. The original plan had a very short passing track at the station, with two stub sidings. As pointed out by Doug Matheson nearly 10 years ago, the passing track was too short, and the stub sidings weren't going to hold much... what I needed was a longer passing siding running all the way through Midway. Well, the old has been pulled up, and the new is going in! Photos from that change will follow in their own article, as soon as it's done.... hopefully soon, as until it's finished, we're back to a point-to-point operation. But at least this time we can try to keep the blog a bit more current, right?


